
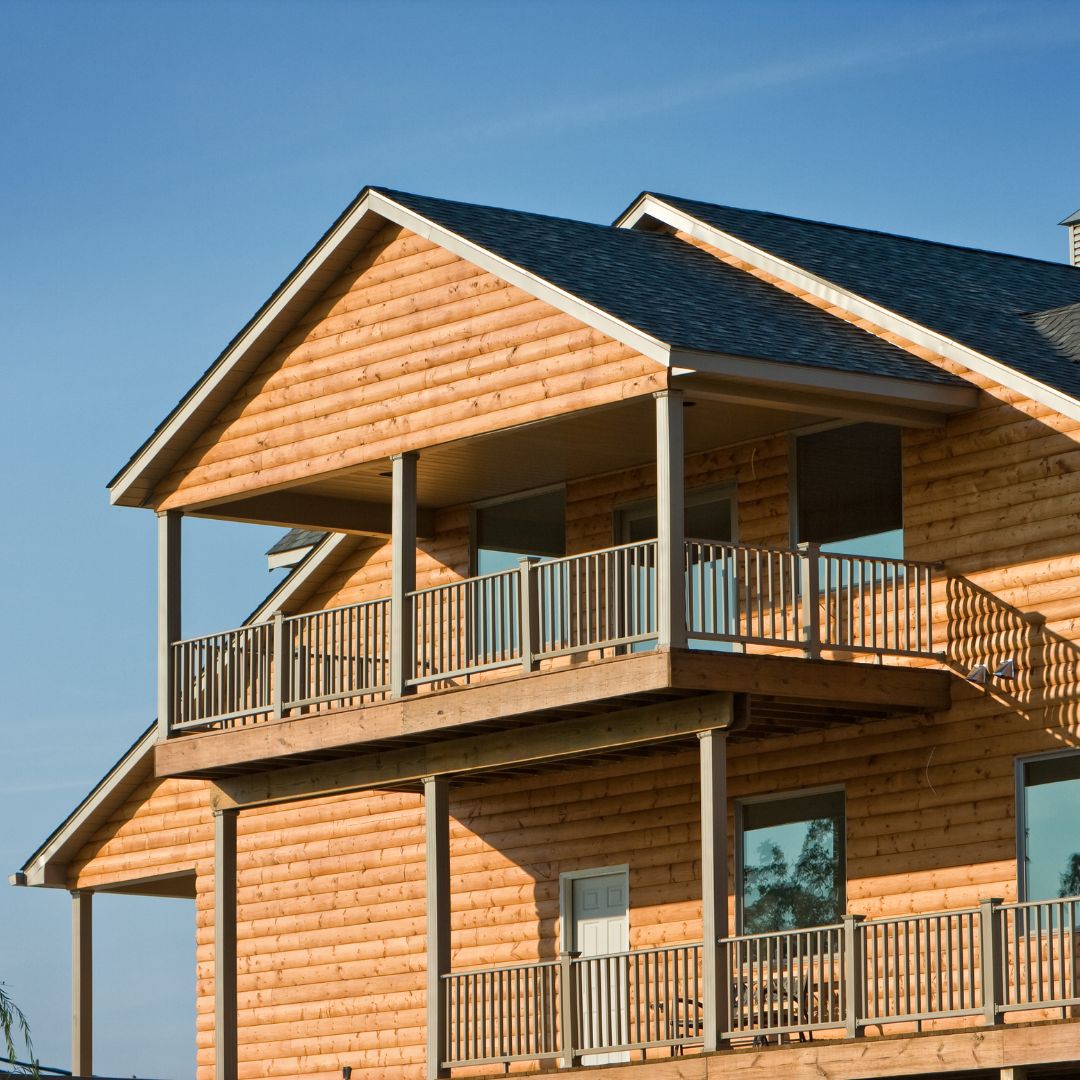
Your log cabin represents a significant investment. Whether it’s your full time home or just somewhere you spend the summer, it’s important to protect and maintain your log cabin to the best of your ability. One of the best ways to protect and enhance the rustic look of your log cabin is to stain it, and in this article we’re going to go through exactly how you should prepare, stain and seal your log cabin.
Choosing your stain
You have a few types of stain to choose from when it comes to staining your log cabin. We would recommend a paraffinic oil-based stain, as they are easy to apply, don’t leave lap marks (commonly known as stop-and-go marks) and don’t form a film after applying. You can also look at a linseed oil-based stain – these are very popular and do a good job, but have a tendency to form a film on the surface which you will need to clean off after applying.
Linseed oil-based stains generally need applying more often to maintain the fresh look of the wood. And of course, being vegetable-based, they can encourage mould and mildew, which will require you to clean off your cabin and re-stain at a later date. Additionally, paraffin-based stains are thinner, are easier to apply and absorb deeper into the wood, giving you greater protection.

You can also buy water-based stains, but these tend to need more coats than oil-based stains. They absorb into the wood very well and provide good protection, but often need applying more frequently. Ultimately, this is about how you want your cabin to look – so choose the stain that gives you the aesthetic that you’re looking for, as well as providing the most protection from the elements.
Interior or exterior
In this article we’re primarily going to focus on how to stain the exterior of your cabin. The reason for this is that staining the outside of your cabin serves a practical purpose as well as an aesthetic purpose, while staining the inside serves mainly as an appearance upgrade for the inside of your cabin. However, especially in your kitchen and bathroom areas, an interior stain is necessary once every few years to ensure that the logs still resist moisture.
If you want to stain the inside of your cabin, you can follow the instructions below – but instead of taking a pressure washer to the inside of your cabin, use a damp cloth.
How to prep a log cabin for staining
There are a few things you need to think about before applying your first coat of stain to your log cabin to ensure the stain absorbs properly and provides maximum protection from the elements. One of the most important first steps is to clean the log cabin where the stain is to be applied. If you do not do this, you will likely not be able to apply the stain properly as it won’t absorb into the wood.
Cleaning your log cabin is a fairly simple process, but depending on how large your cabin is, it may be a time consuming one. One of the simplest ways of doing this is to use a pressure washer and wood cleaner. You will need a few things for this job – a wood cleaner, a wood brightener and of course, a pressure washer.
Apply the wood cleaner first. Make sure that conditions are dry – you don’t want to be doing this job in the rain. Apply your wood cleaning agent using either a power sprayer or a garden sprayer – you don’t want to use anything motorised, like a pressure washer at this stage. Apply the cleaner from bottom to top to prevent any streaking.
Now, you should leave the cleaner to stand for ten or fifteen minutes (but always read the label on the bottle to find out exactly how long you should leave it) and then blast it with the pressure washer. Make sure your pressure washer is not set to any more than 55 bar, or you may damage your logs.
I would recommend working in stages – do a section of your log cabin first with the cleaner, and then rinse it off before moving onto another section. This means that you have more control over how long you leave the wood cleaner on the cabin and you aren’t trying to rush to rinse it off in time.
Once you’ve finished cleaning your log cabin and the logs are still wet, add a wood brightener to the cabin using a pump or garden sprayer. Leave it for ten to fifteen minutes and then rinse it off with the pressure washer.
Once you’ve completed this process, you need to leave the log cabin to dry for at least three days. This is because if you try to apply a stain coat while the cabin is still wet or if the humidity of the logs is too high, you will likely end up with a patchy-looking coat of stain. The goal is around 20% humidity for the logs to be suitable to take a coat of stain. If in doubt, read the instructions on the back of your stain tub.

Inspecting and prepping the surface
Now it’s time to inspect your cabin’s logs to ensure they are in good condition and ready to take a coat of stain. They should all be clean by now, but you should go around the cabin and check for any areas of splintering or rot. Rotted areas should be cut out and replaced with fresh wood. Splintered or gouged areas should either be replaced with new wood if the damage is that bad, or can be filled with wood filler if necessary.
Now for the fun part – what you absolutely must do now is mask off any areas that you do not want to stain. This includes windows, doors and other fixtures and fittings on the outside of your cabin. You can do this with paper and masking tape from any good hardware store. This is important even if you’re using a brush and not a sprayer – but it’s far more important with a sprayer because you have far less control of where the paint will go. Make sure absolutely everything you don’t want to stain is masked off properly.
You must also check the chinking and caulking on your cabin for any damage or missing parts. It’s important that you apply the first coat before you remove any chinking or caulking because this will allow the stain to properly protect the wood. Make a note of any issues and go back to fix them after the first coat has been applied.
You must also prep your stain, especially if you have different batches. You can do this usually by looking on the lid of the tub, as the batch number is usually printed there. If you have multiple tubs from different batches, you will need to mix them together (called “boxing”) to ensure an even finish – otherwise you’re going to end up with a log cabin that looks like a patchwork quilt.
Applying the stain coat
Applying the coat of stain is easy – it’s effectively the same as if you were painting a room in a house, except you’re doing it on the outside. You can use a brush or you can use a paint sprayer depending on the type of stain you’re using – if you’re using an oil-based stain I’d recommend you use a brush simply because oil-based stains tend to be thicker. As we’ve mentioned earlier in the article, we would recommend a paraffinic oil-based wood stain simply because they absorb into the logs better and they don’t create a film. However, this is highly dependent on the kind of finish you want, so make sure you do your research and pick the stain that will protect your cabin but also provides the aesthetic you want.
If your logs are virgin (meaning you’ve never stained them before) then you should expect to do several coats of stain as the wood will absorb the stain like a sponge. If you’ve stained your cabin before, you should not expect to do as many coats, but you should apply as many coats as the wood will realistically absorb. You should, however, wipe away any stain that has not been absorbed within ten minutes of applying.

The best technique to stain your cabin is to go slowly and methodically, staining one log at a time. This will eliminate any lap marks or patchy finishes. Don’t allow any unabsorbed stain to dry on the cabin as this will spoil the finish.
This kind of goes without saying, but don’t try to apply log cabin stain in the rain or the snow, as the wood will be too damp for the stain to absorb properly. You’ll end up with stain sitting on the surface as the wood will be too saturated to absorb the stain. You should also avoid staining your cabin in direct sunlight, because this can cause the stain to dry quickly which can spoil the finish.
If you’re using a sprayer, then you should have someone else go along the sprayed area with a brush to ensure the stain has penetrated the wood properly and isn’t just sitting on the surface. As we’ve mentioned, apply as many coats as is realistically necessary – although if you’ve stained before this is likely to be a maximum of two coats. A water-based stain may require up to three coats before the stain is fully absorbed into the wood.
A very important tip – don’t stain if you think it’s going to rain in the next 24 hours. Most stains will hold up against a mild downpour after a day or two, but it’s best not to take the risk if you think it’s going to rain soon after applying your stain.
How the weather affects your stain and how to maintain your cabin
After you’ve stained your cabin, as we’ve mentioned, it’s a minimum of 24 hours before it is able to protect against a rain shower. After this, however, it will begin to protect your cabin from the elements. You should be aware, however, of how the weather affects your cabin over the long term and what you can do about it.
Rainy weather is the enemy because it can cause a number of issues, mainly related to mould and rot. Extremely dry weather can cause your logs to shrink, exposing cracks and holes in your cabin. Very windy weather can obviously cause issues such as damage from falling trees and other objects, but also can cause whipping, where dust and dirt is whipped up and hits your log cabin and over time, causes damage.
Even sunlight can cause problems – the sun’s rays bleach the outside of your cabin, and you may notice when you’re doing your staining that one side of your cabin that usually faces the sun is a lighter color than the other sides. This kind of UV damage can cause problems, which is why staining is important.
Staining the surface of your cabin on a regular basis is a very important part of maintaining and owning a log cabin. As a rule of thumb, you should be staining your cabin every 2 to 5 years, depending on the weather and condition of your cabin. When you stain your cabin, it’s also a good opportunity to inspect the condition of the wood, and replace any rotted or damaged portions of the cabin before they become a significant issue.
How much does it cost to stain a log cabin?
Staining can be done very cheaply by yourself if you have a small cabin, or very expensively if you hire someone else to do it and you have a very large log cabin. You can expect to pay around $50 per gallon for log cabin stain. A gallon of stain will cover around 175ft2 of surface, and depending on the number of coats you need to do, you may need multiple gallons.
It would be impossible to give an exact figure, so if you plan to do it yourself, you need to work out the cost of all your tools and materials – and make sure you include the cost of the cleaning agents, power sprayer and pressure washer, brushes, etc.
How to stain and seal a log cabin
Your log cabin represents a significant investment. Whether it’s your full time
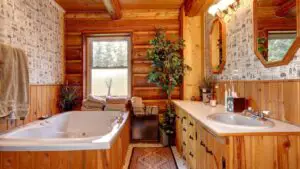
9 Beautifully Rustic Log Cabin Bathroom Ideas
When you picture log cabin bathrooms, you’re probably thinking of rustic bathroom

Booking Private Lake Cabin Rentals: Tips & Recommendations
According to IATA, 3.4 billion passengers in the USA are projected to

Chinking A Log Cabin In 3 Steps
If you’re a log cabin owner, you’ll know that chinking a log
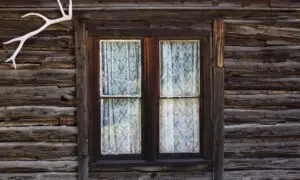
Buying Log Cabin Curtains? Read This First!
Log cabin curtains and blinds are an important part of the log

Off Grid Water Pump Buying & Installing Guide
We’ve searched high and low across the web for an article on