Keeping your log home cool during the summer months can be a challenge, especially if you don’t have central air. Luckily, log cabin ceiling fans are a great way to create a cool and comfortable atmosphere in your log home.
In this buying guide, we’ll explore some of the key features you should look for when shopping for log cabin ceiling fans, as well as some popular log cabin fan design options to help you find the perfect ceiling fan for your log home.
Why Do You Need a Log Cabin Ceiling Fan?
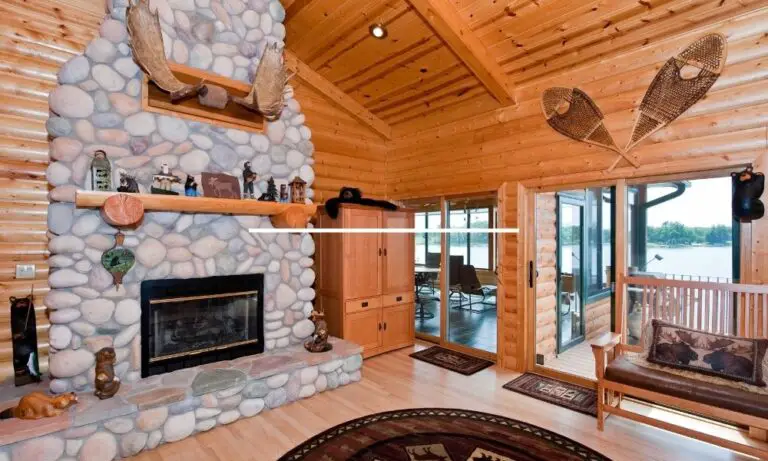
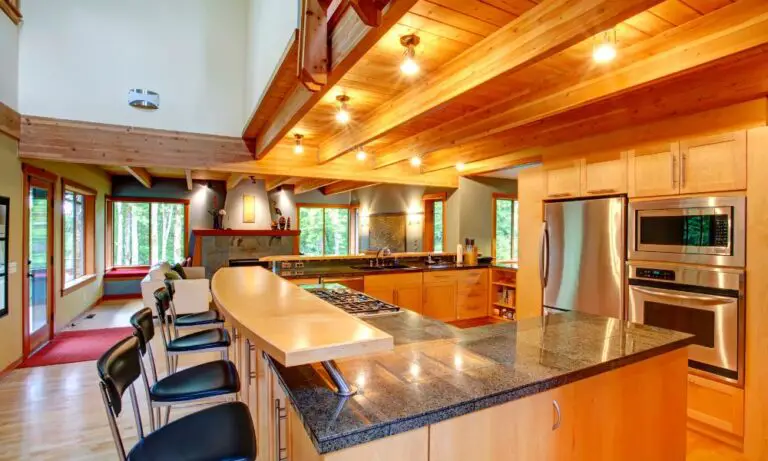
You’ll notice that most log homes feature large, open spaces with high ceilings. This can make them feel drafty and cold in the summertime, which is why log cabin ceiling fans are so important.
The purpose of the fan is to circulate air and create a cross-breeze, which both helps keep your log home cool and can help eliminate the “swamp” smell that log homes are often prone to.
Do You Need A Ceiling Fan In Every Room?
The short answer here is no! log cabin ceiling fans are most effective when placed in rooms that are used the most, such as living rooms, bedrooms, and kitchens.
In general, it’s best to avoid placing ceiling fans in small cabin bathrooms or laundry rooms since the limited space can make them less effective.
One of the most important aspects of log cabin ceiling fans is making sure that you choose the right size for your home. To do this, you’ll need to consider both the size of your log home and how much air circulation you need in each room.
How to Choose the Right Size Log Cabin Ceiling Fan
Generally speaking, a cabin ceiling fan should be able to circulate at least 10,000 cubic feet of air per minute (cfm).To find the square footage of your log cabin, simply multiply the length by the width.
For example, if your log cabin is 30 feet long and 20 feet wide, the square footage would be 600. This means you would need a cabin ceiling fan that can circulate at least 6,000 cfm.
Key Features to Look for in Log Cabin Ceiling Fans
When shopping for log cabin ceiling fans, there are a few key features you’ll want to look for:
Reversible blades: log cabin ceiling fans typically come with reversible blades so that you can change the direction of the fan depending on the season. In the summer, you’ll want the blades to rotate counter-clockwise to create a cooling effect, while in the winter you’ll want them to rotate clockwise to push warm air down from the ceiling.
We recommend: Hampton Bay Blakeford Brushed Nickel DC Motor Ceiling Fan with Light
Remote control: cabin ceiling fans usually come with a remote control so that you can easily turn them on and off without having to get up. These are particularly handy if you have log cabin ceiling fans in hard-to-reach places.
We recommend: 42″ Chandelier Ceiling Fan With 8 Invisible Blades & Remote Control
Lighting: some log cabin ceiling fans come with built-in lighting, which can be a great way to save space and money. These are typically LED lights that use very little energy, so you won’t have to worry about your electric bill going up.
We recommend: Brushed Nickel Hunter Ceiling Fan with Light Kit
High-quality motor: log cabin ceiling fans are typically larger and more powerful than standard ceiling fans, so it’s important to choose a model with a high-quality motor that can handle the extra load.
We recommend: 52″ Lodge Rustic Cabin Country Ceiling Fan W/light Kit
Low sound: log cabin ceiling fans should produce minimal noise so that they don’t disturb the peace and quiet of your log home. It will also help when sleeping at night.
We recommend: 52 Inch Rustic Cabin Lodge Antler Ceiling Fan 3-lights
With these key features in mind, you’re sure to find the perfect log cabin ceiling fan for your log home!
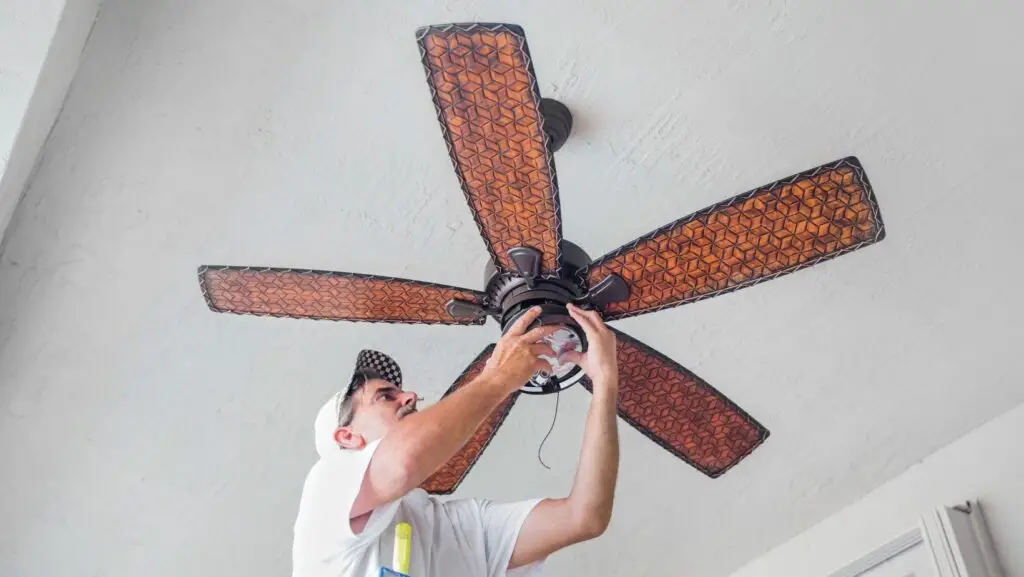
Installing A Ceiling Fan In Your Cabin
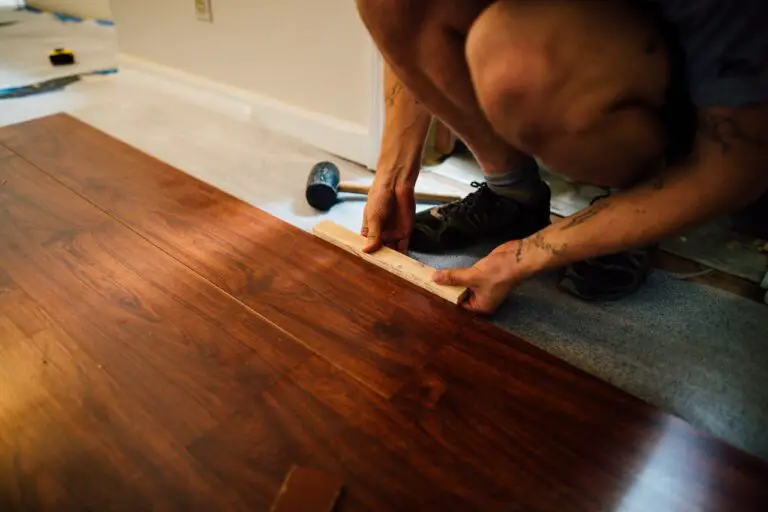
Once you’ve found the ceiling fan that’s right for your log cabin home, it’s time to install it. You can do this yourself or hire a professional to help – either way, it’s important to follow the proper steps to ensure that your log cabin ceiling fan is installed safely and securely.
Here are a few tips to help make the installation process as easy and hassle-free as possible:
1. Always start by turning off the power to your log cabin at the main breaker panel. This will ensure that you don’t accidentally electrocute yourself while working on the wiring.
2. Next, remove the old ceiling fan (if there is one) and dispose of it properly. You’ll then need to install the new mounting bracket that came with your log cabin ceiling fan.
3. Once the bracket is in place, you can then attach the log cabin ceiling fan to the bracket using the provided screws.
4. Now it’s time to connect the wiring. At this stage, it’s essential to follow the instructions closely. Different fans may have different recommendations here so pay special attention.
5. Once your cabin ceiling fan is wired up, you can then test it to make sure that it’s working properly. To do this, simply flip the circuit breaker back on and turn the log cabin ceiling fan switch to the “on” position. If everything is working correctly, you should see the log cabin ceiling fan blades start to rotate.
6. If your log cabin ceiling fan has a light, you can then test it by turning on the light switch. Again, if everything is working correctly, you should see the light come on.
7. That’s it! You’ve now successfully installed your log cabin ceiling fan and are ready to enjoy the cool breeze it provides.
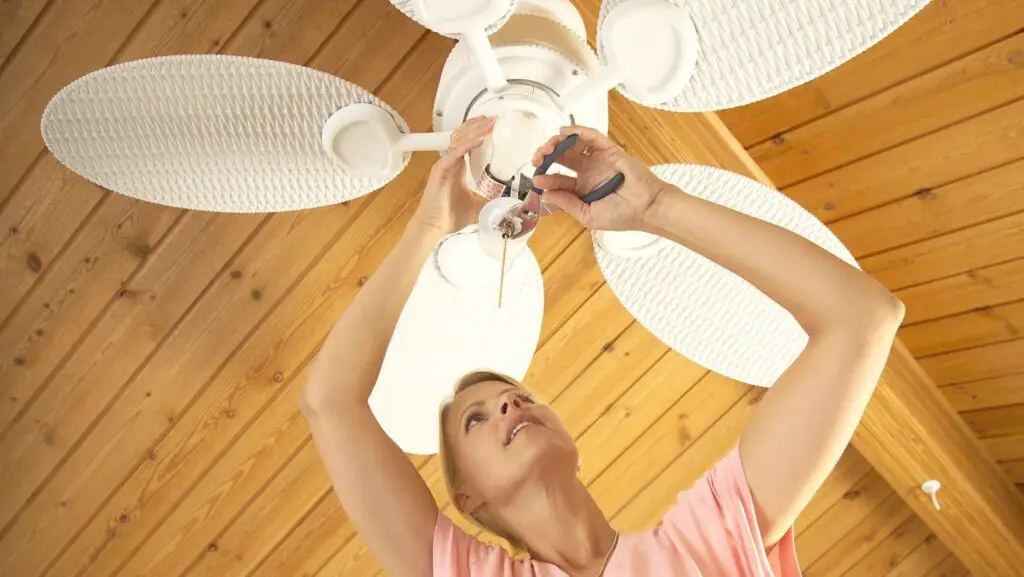
Cabin Ceiling Fan Maintenance
Once you’ve installed your log cabin ceiling fan, it’s important to maintain it so that it continues to work properly.
Be sure to clean the blades regularly with a soft cloth to remove any dust or dirt. You should also vacuum the area around the fan on a monthly basis to keep the area clean and dust-free.
In addition, it’s important to keep an eye on the log cabin ceiling fan motor for any signs of wear or damage. If you notice anything out of the ordinary, such as unusual noise or vibrations, it’s best to have a professional inspect and repair the motor as needed.
Overall, maintaining your log cabin ceiling fan is an easy and affordable way to keep your log home comfortable all year long!
Wrapping Up
Installing a log cabin ceiling fan is a great way to keep your log home cool and comfortable all year long. Be sure to follow the tips and advice in this guide to ensure that your log cabin ceiling fan is installed safely and properly. And don’t forget to perform regular maintenance to keep it running smoothly for years to come!
Thanks for being a fan of our blog! We hope you’ve found our log cabin ceiling fan buying guide and ideas helpful. For more log home inspiration, be sure to check out our other log cabin posts.
Log Cabin Ceiling Fan FAQ
Before we go, let’s answer a few frequently asked questions about log cabin ceiling fans.