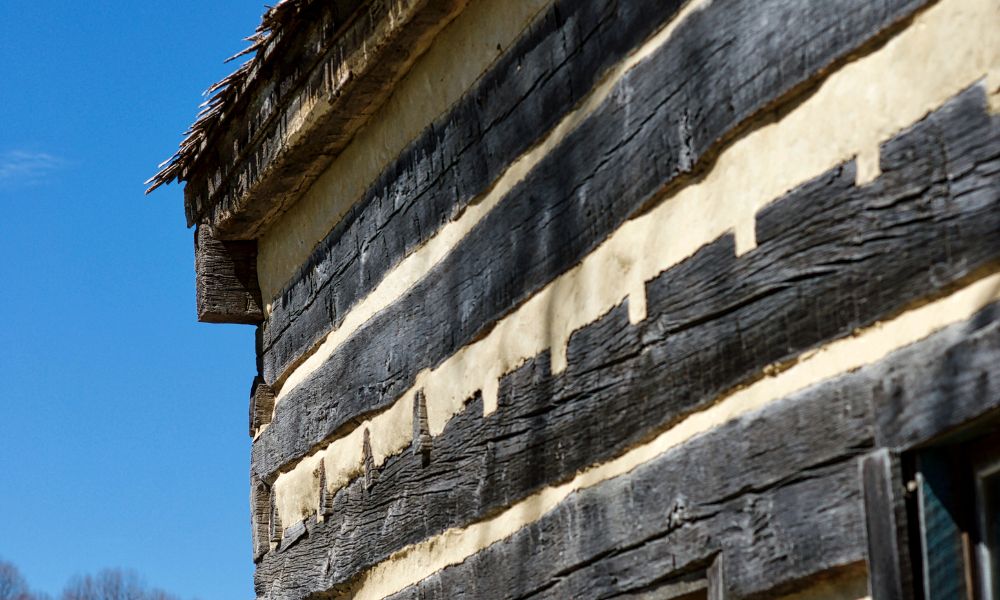
If you’re a log cabin owner, you’ll know that chinking a log cabin is an important part of maintaining your property and ensuring it lasts for years to come.
In short, chinking is the process of filling the gaps between logs in a log cabin, and is usually made from a mixture of cement, sand, water and lime. You’ll have probably heard of Permachink, which is a top supplier of log cabin clinking in the US.
In this guide, we’ll cover chinking a log cabin from start to finish. We’ll start by discussing the preparation and tools required, then move on to the chinking process itself. Finally, we’ll give you some top tips on how to maintain your log cabin chinking so that it lasts for years to come.
So whether you’re building your own cabin or working on an existing property, let’s get started!
Tools & Preparation Tips For Chinking A Log Cabin
Before you start chinking a log cabin, we highly recommend you prep and gather the necessary tools. Trust us, doing this makes the chinking process a whole lot easier and faster! Here’s what you’ll need:
How To Chink A Log Cabin
With your prepared tools and materials, it’s time to start chinking your log cabin! This is the fun bit and the part where you’ll see all your hard work come together.
Step 1: Create Your Chinking Mix
If you’re buying chinking mix ready-made, you can skip this step. Otherwise, follow the ratio of 1 part cement to 2 parts sand to 3 parts water.
Once you’ve mixed the ingredients together, wet it down with the hose until it’s the consistency of thick mud. This will make it easier to apply to the logs.
Step 2: Apply The Chinking Mix
Start by applying the chinking mix to the corners and ends of the logs, using the chinking gun. Once you’ve done that, use the putty knife to spread it into the gaps between the logs.
As you’re doing this, make sure you smooth it out as much as possible so that it’s level with the surface of the logs. You don’t want any lumps or bumps! Another important note when you’re smoothing out the chinking mix is to make sure you go in one direction only. Otherwise, you could end up with streaks.
Step 3: Let It Dry
Having applied the chinking mix, it’s time to let it dry. This usually takes around 24 hours, but it’s best to leave it for 48 hours just to be on the safe side. Pre-made chinking mix usually comes with instructions on the packet, so make sure you refer to those for specific details.
Once it’s dry, you can remove any excess chinking mix using the wire brush. And that’s it! You’ve successfully completed chinking a log cabin.
How To Maintain Your Log Cabin Chinking
Before we’re completely finished, we want to make sure that you know how to maintain your log cabin chinking. After all, you want it to last for many years and properly insulate your log cabin home. Plus, these tasks can be incorporated into your regular log cabin maintenance checks.
The first and most obvious tip is to regularly check for any cracks or gaps in the chinking. If you find any, simply apply more chinking mix to fill them in. This is such a simple one but many cabin owners don’t do this, and a small crack can lead to a big problem!
Another tip is to regularly clean the surface of the chinking. This will help to prevent any dirt or debris from getting trapped in the chinking and causing it to crack. A simple way to do this is to use a pressure washer on a low setting. Just make sure you don’t use too much pressure or you could damage the chinking.
Finally, we recommend chinking a log cabin every few years. If you’re not sure then hire a log cabin expert to come and inspect your chinking for you. They’ll be able to tell you if it needs replacing and can do it for you if necessary.
Final Thoughts On Chinking A Log Cabin

Hopefully, this guide has helped you to understand everything you need to know about chinking a log cabin. It’s really not as difficult as it might seem and is something that you can easily do yourself. Just make sure you take your time, follow the steps carefully, and enjoy the process!
Chinking FAQs